
A sufficient number of glue dots is provided with each frame you buy. The glue dots are for sticking your SlimPYX on walls, doors or windows, and they come off without leaving a trace, leaving your walls free from stains!
The new generation of SlimPYX adhesive glue dots have a tab to make handling easier.
The adhesive dots were designed by the best engineers for a long-lasting decoration that doesn't damage your walls: no greasy stains, no sticky residue.
USER INSTRUCTIONS FOR SlimPYX SIMPLE FRAMES:
HOW TO INSTALL YOUR FRAME:
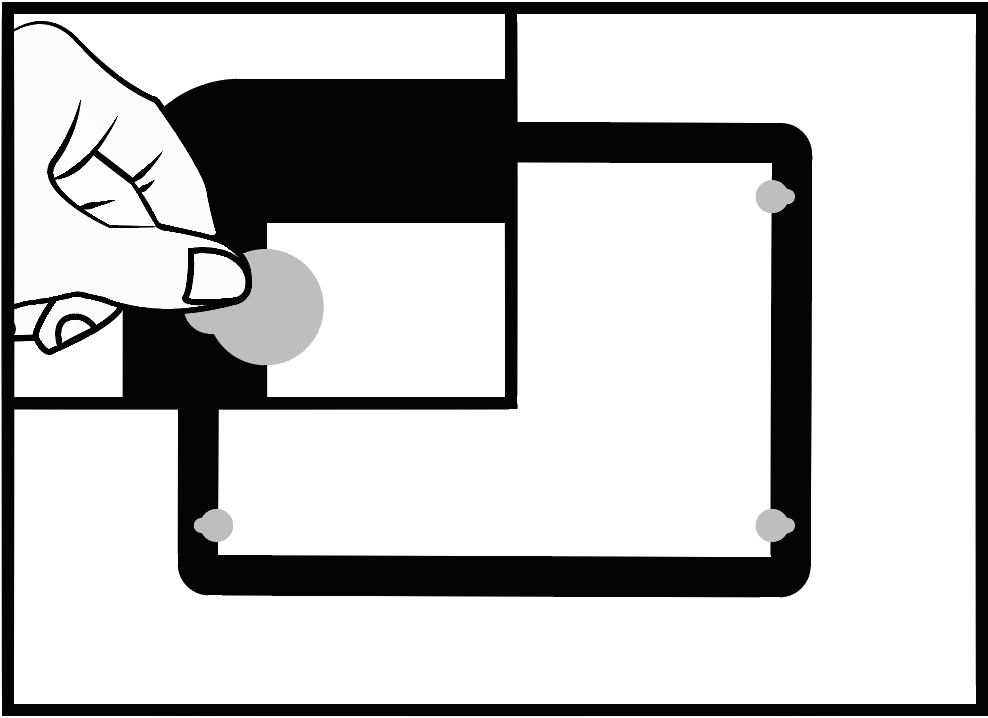
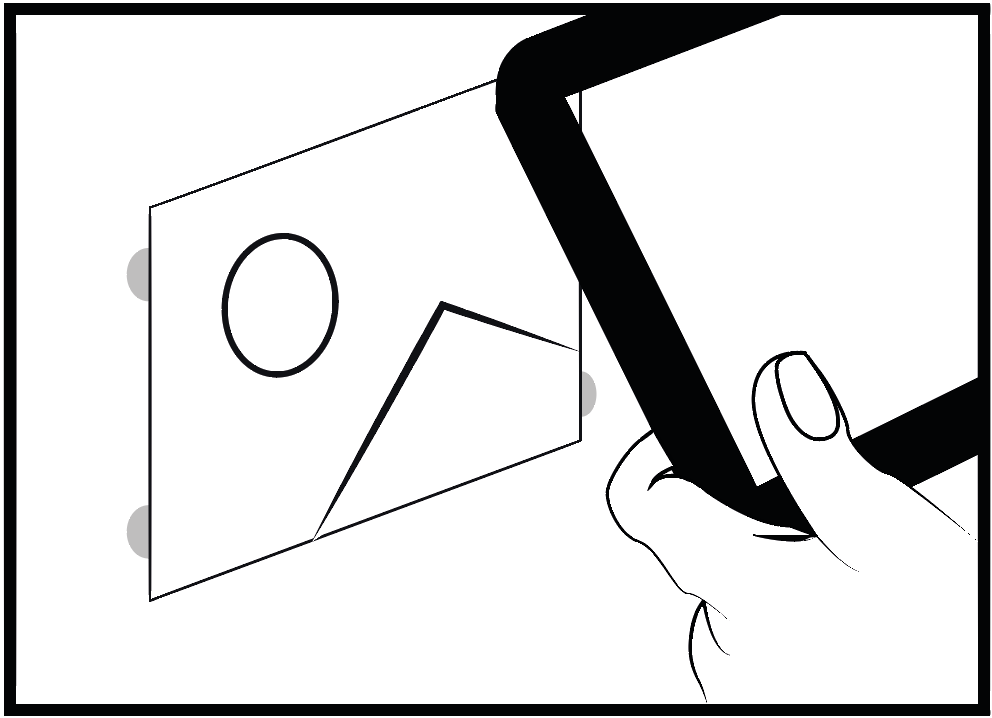
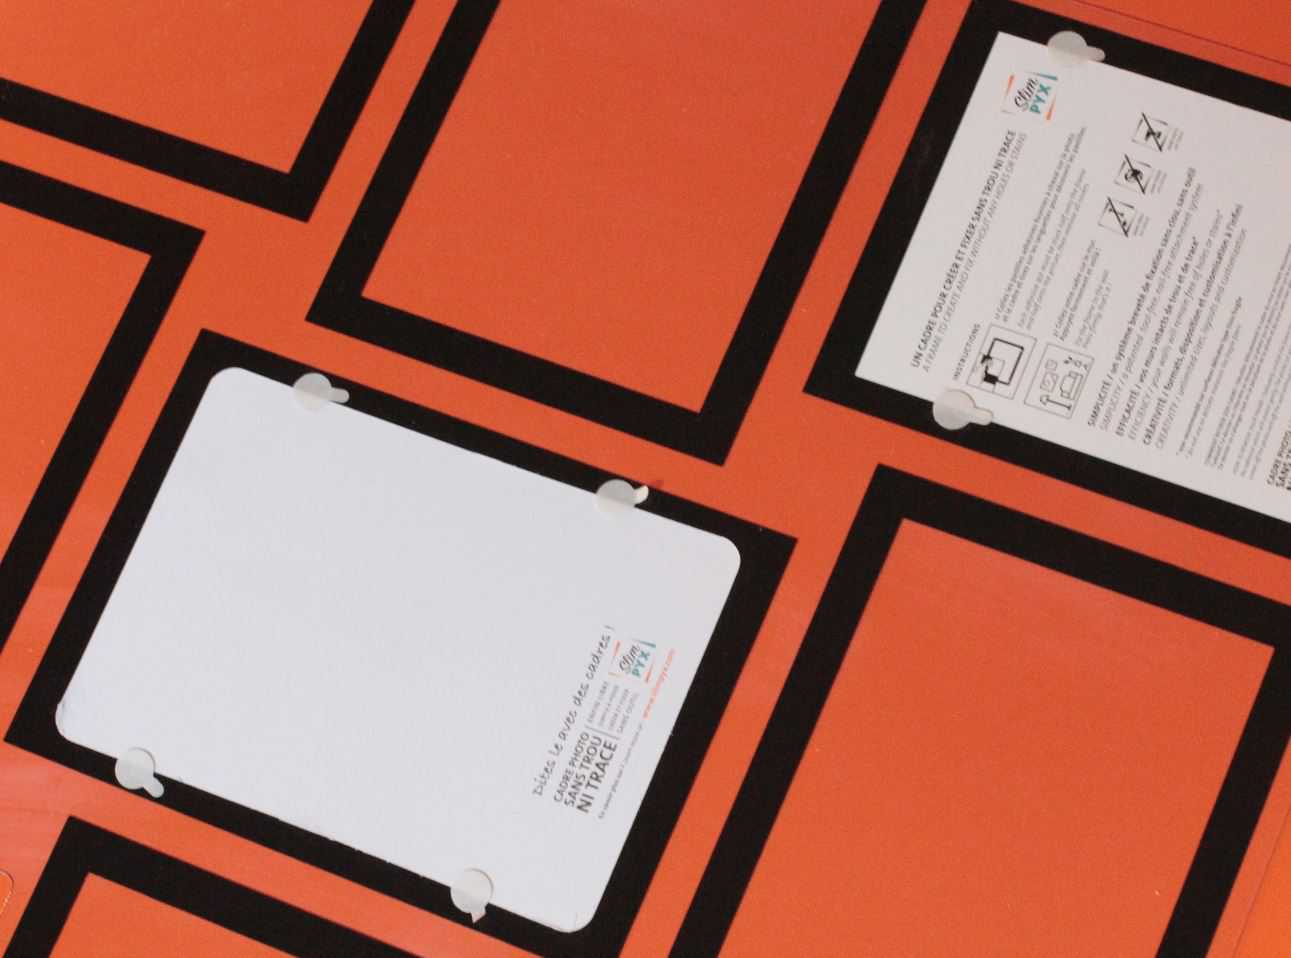
1) Stick the adhesive dots half onto the frame and half onto the picture approximately 1cm away from the corners.
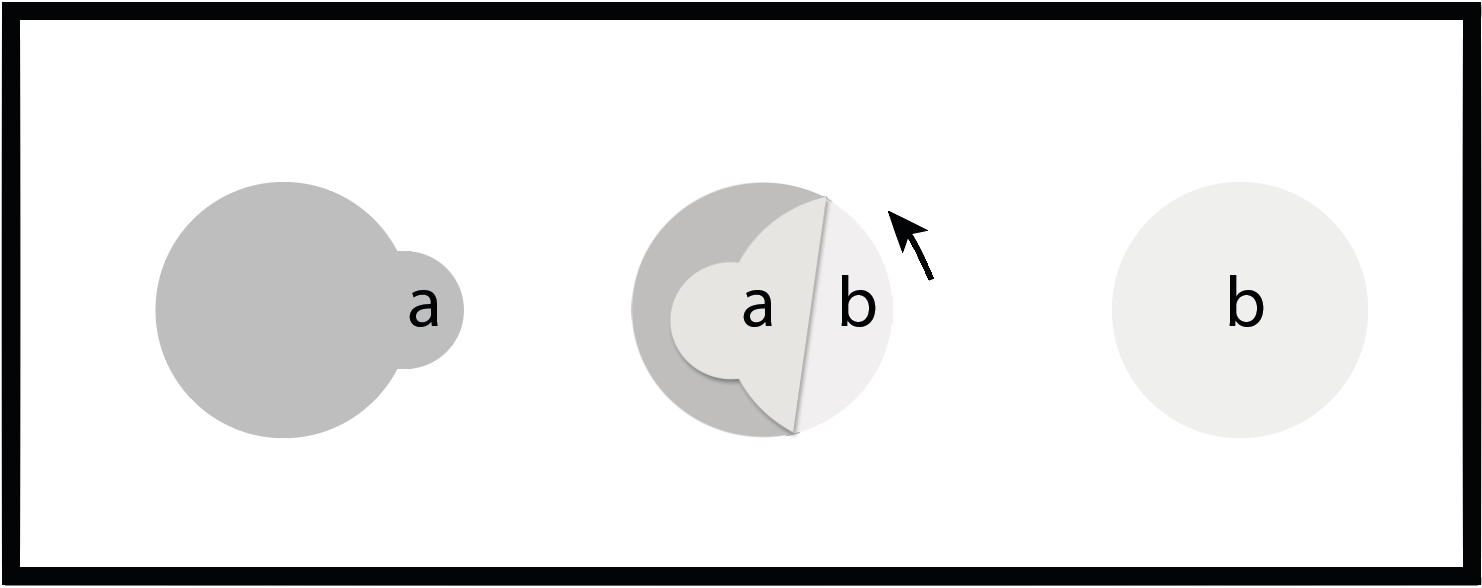
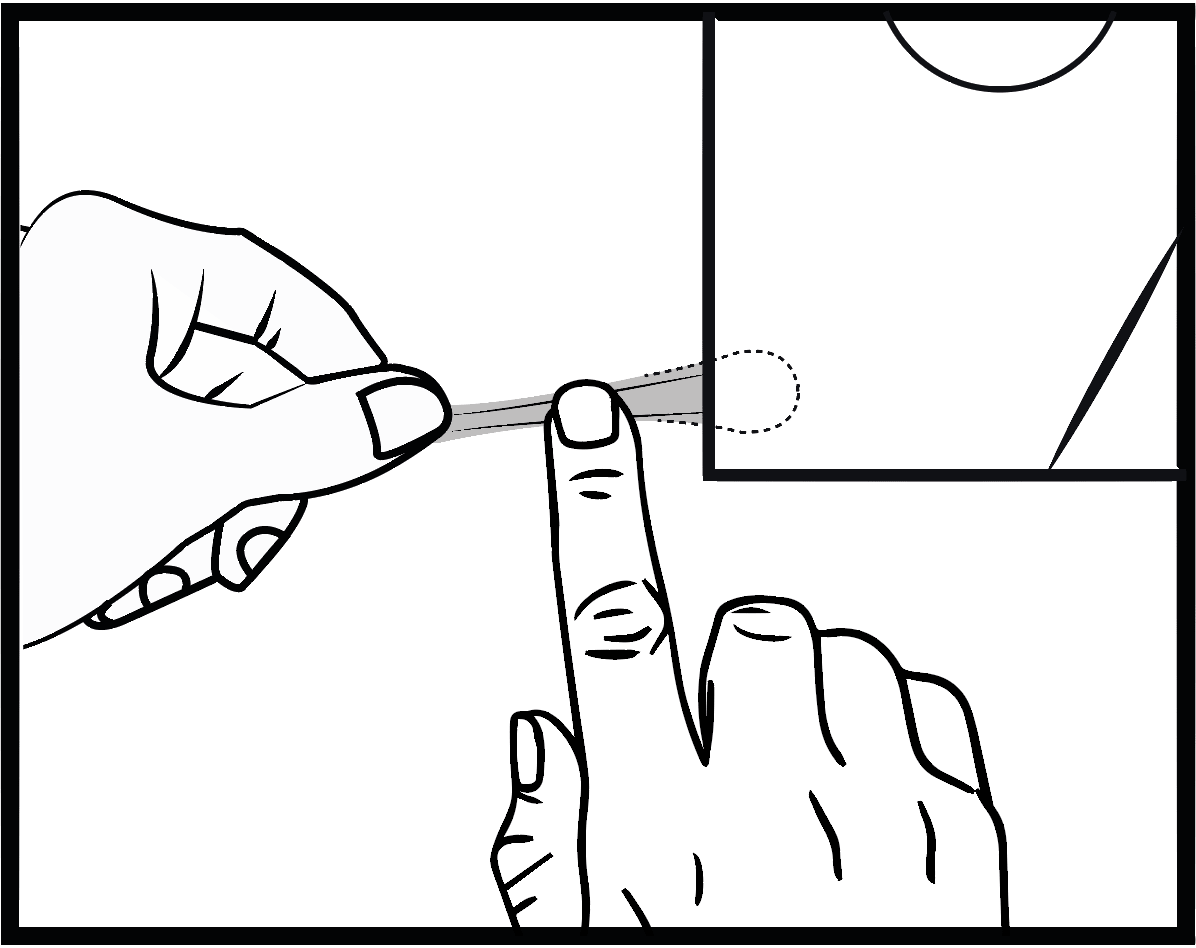
2) Pull the tabs (a) to uncover the glue dots (b)
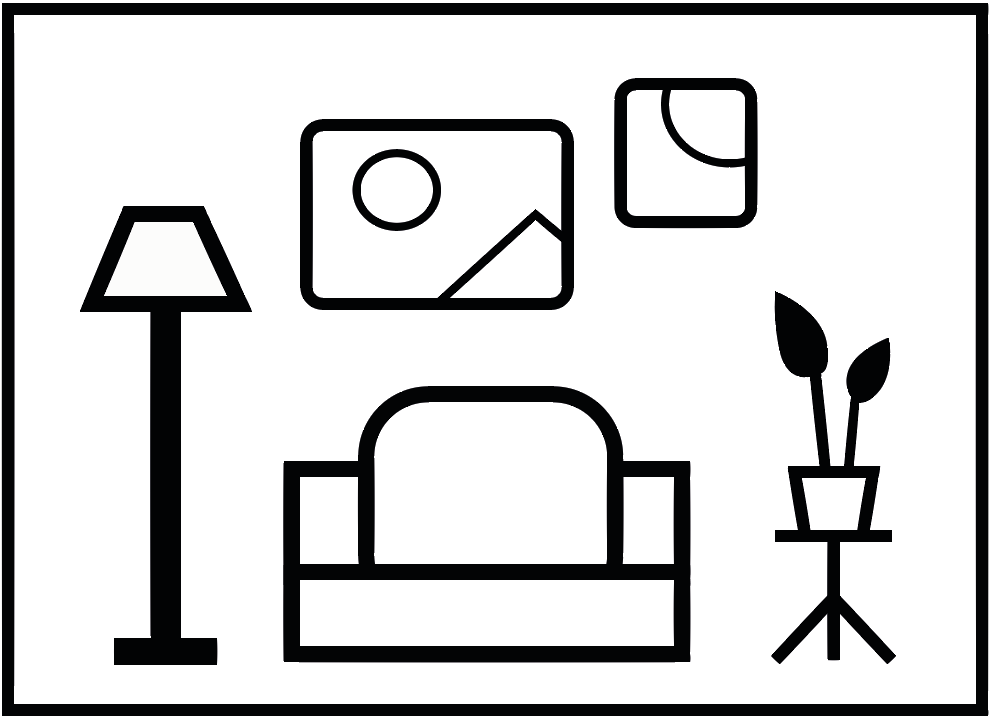
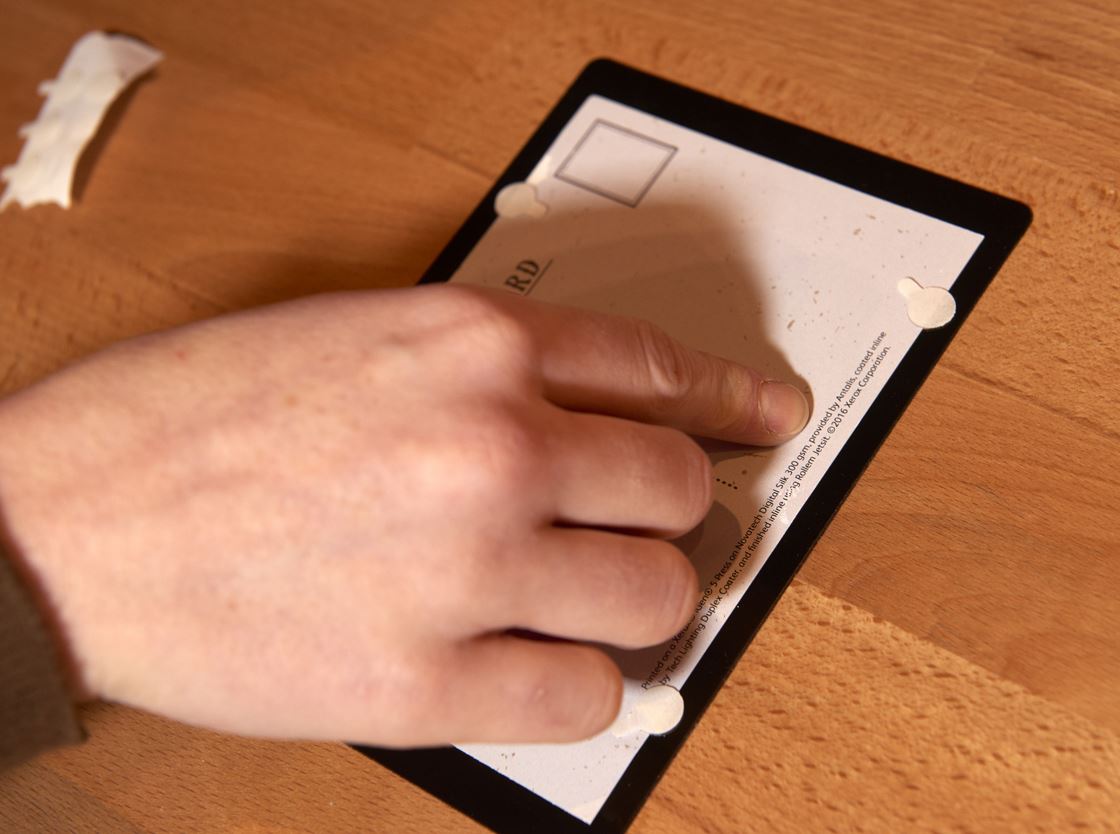
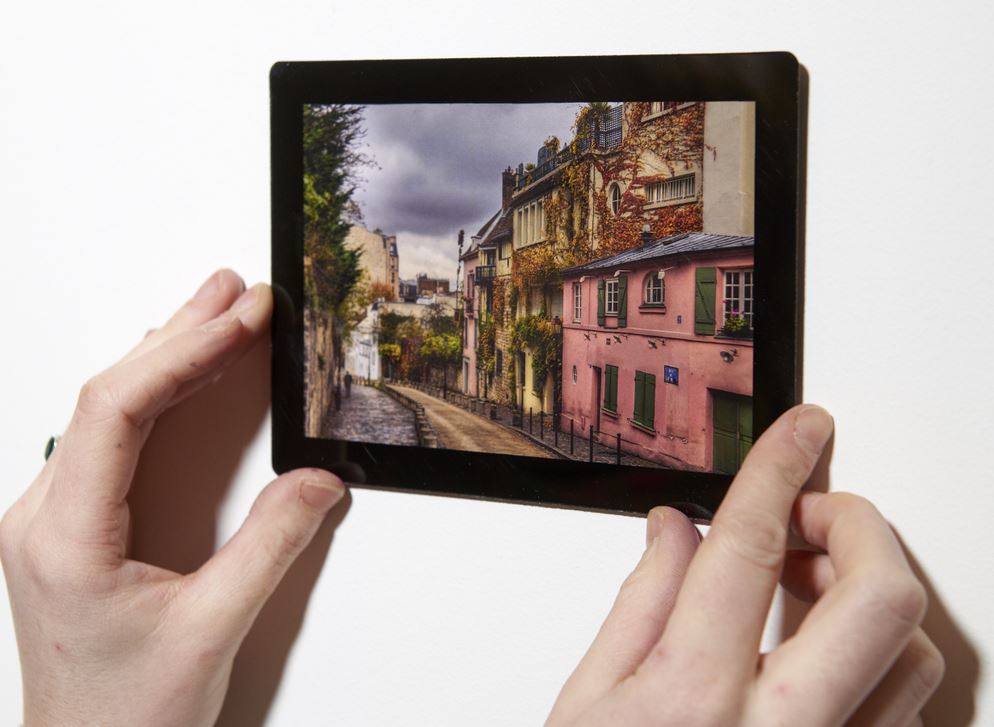
3) Stick the frame on the wall. Press firmly, and you’re done!
Surfaces should be clean, dry, non-greasy, solid and hard.
We do not recommend the use of SlimPYX frames on sensitive surfaces.
Stick the glue dots at least 1cm away from the corner of the photo, as shown in figure 1. Do not stick the glue dots on the corners.
HOW TO REMOVE YOUR FRAME:
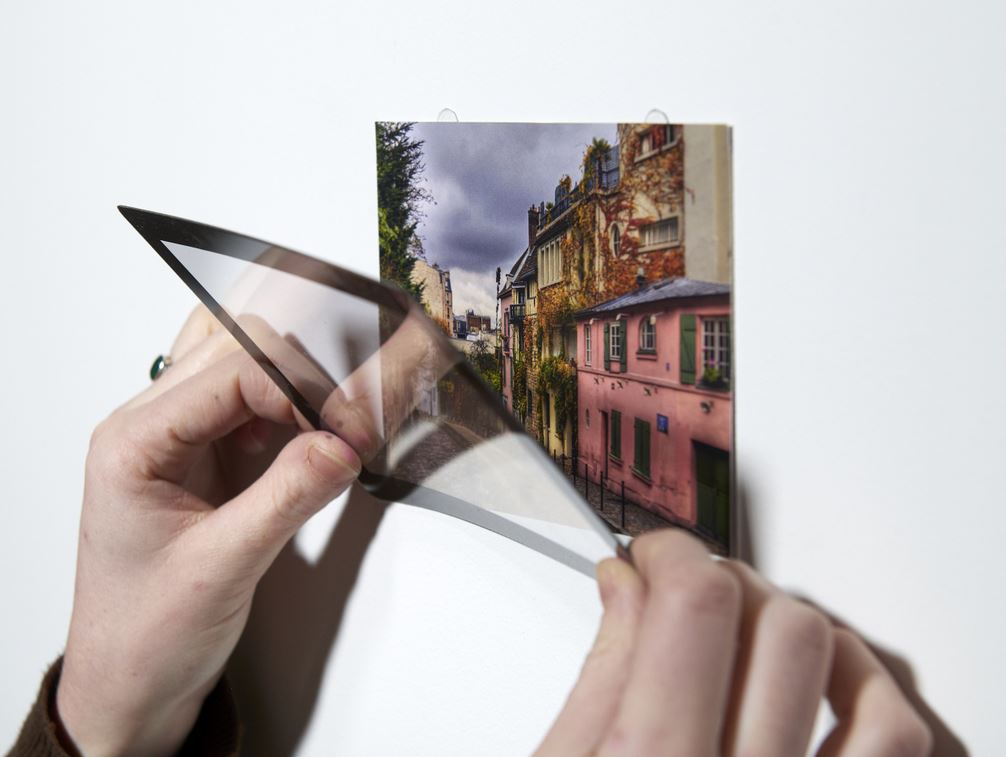
1) Delicately unstick the frame from the wall by very slowly pulling one side at a time parallel to the wall without tearing the adhesive which will stretch gently. On most surfaces the photo (or picture) will stay on the wall.
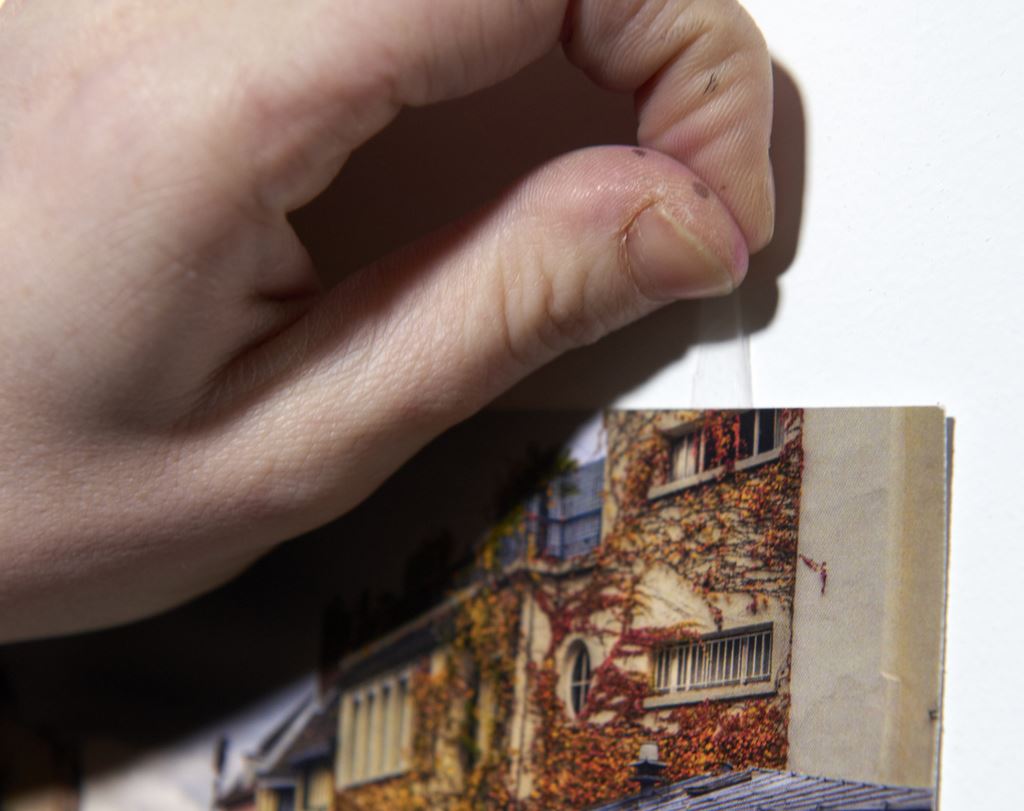
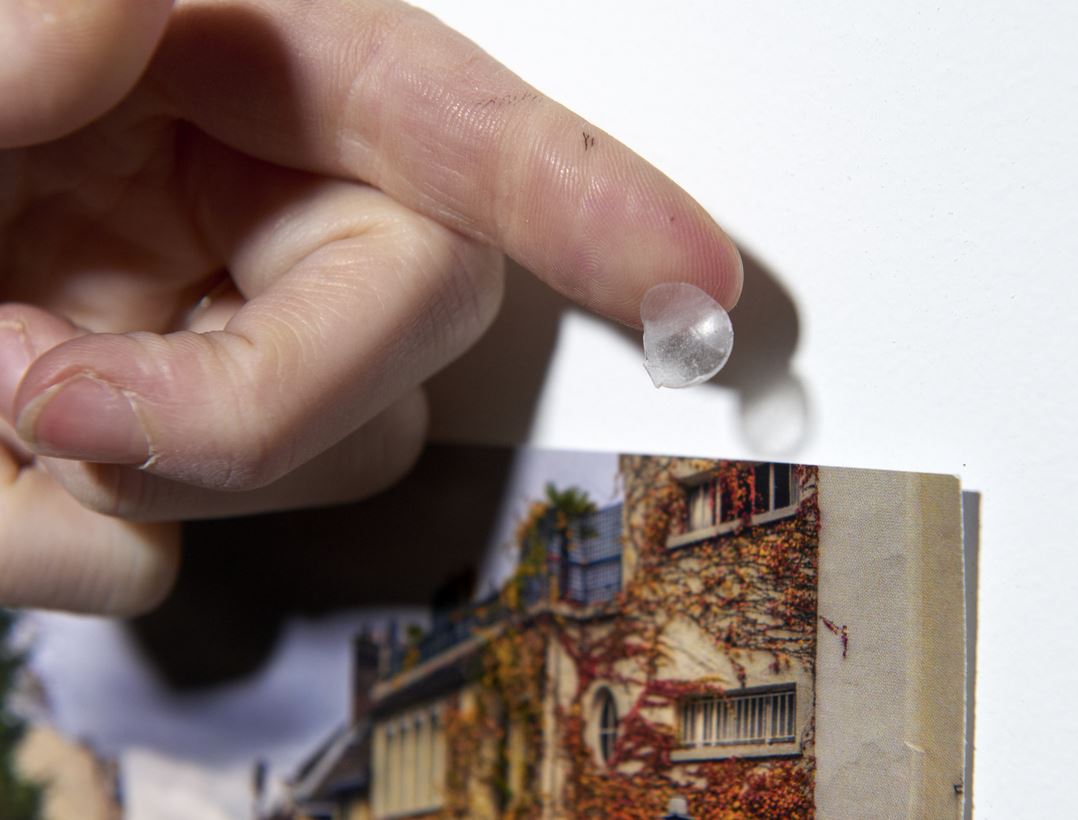
2) Next pull the adhesive very slowly without tearing it. It will elongate as it comes off the photo and off the wall without damaging either of them. Dots come off cleanly, leaving walls free from greasy stains or sticky residue.
Beware of tearing the adhesive dots with your nails. If the adhesive breaks, please refer to the questions below or visit our FAQ section (link here)
Pictures of the process, step by step:
HOW TO INSTALL YOUR FRAME:
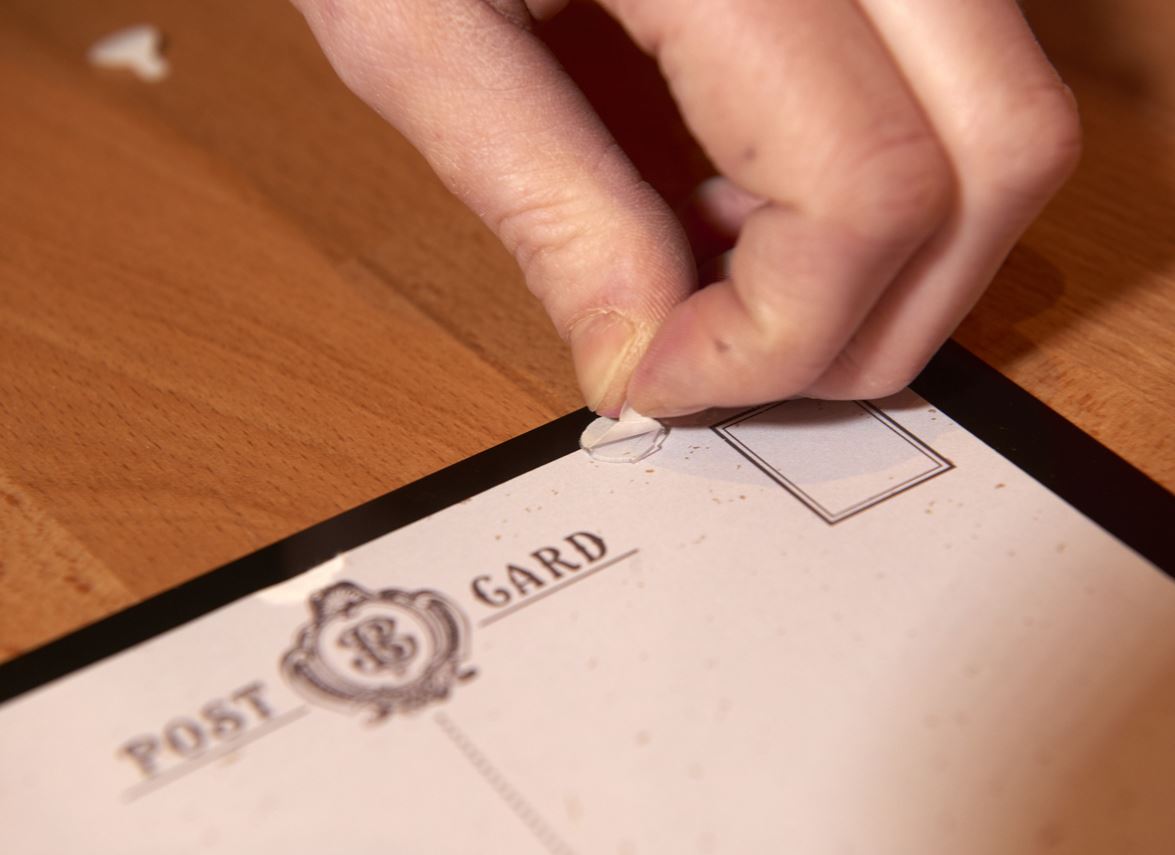
HOW TO REMOVE YOUR FRAME:
I tore the adhesive dot when pulling on it, what should I do?
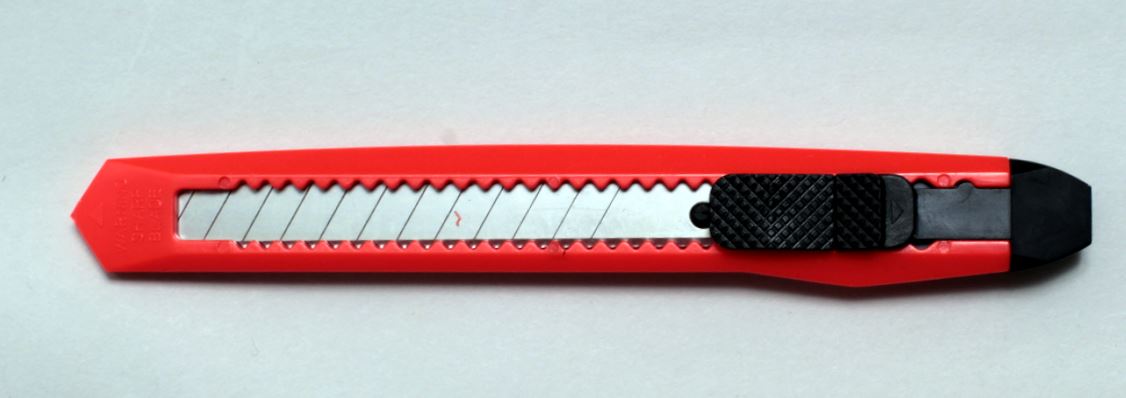
If a small bit of the adhesive is still sticking out, try to catch hold of it and very slowly pull on it sideways. If the adhesive dot is unattainable you should use a box cutter. Carefully slip the blade between the picture and the wall and slit the adhesive dot in half (you must remove the SlimPYX frame from the wall BEFORE attempting to remove the adhesive dots from behind the picture).
Please make sure that the blade is laid flat and slit the adhesive dot in half so that your picture falls of. Once the picture is off the wall you can slowly pull the adhesive off, leaving your wall free from any residue. Please note that this should be done by adults only.
INSTRUCTIONS FOR SlimPYX PELE-MELE: COLLAGE PICTURE FRAMES
In the same way as you did for SlimPYX SIMPLE, center your pictures face down on the frame and stick on 4 glue-dots per picture. Just like on the photo below, stick the adhesive dots half onto the frame and half onto the picture approximately 1cm away from the corners. This will allow you to remove your frame more easily. The glue-dots will hold the picture to the frame while simultaneously adhering the frame to any clean and smooth surface.
INSTRUCTIONS FOR SlimPYX DOUBLE FRAMES:
Because they have a double border, SlimPYX DOUBLE frames need to be put up to the wall following this specific procedure :
1) Place your picture face down in the centre of the frame.
2) Stick the double-sided adhesive dots half on the internal frame, half on the picture so as to hold the picture in place.
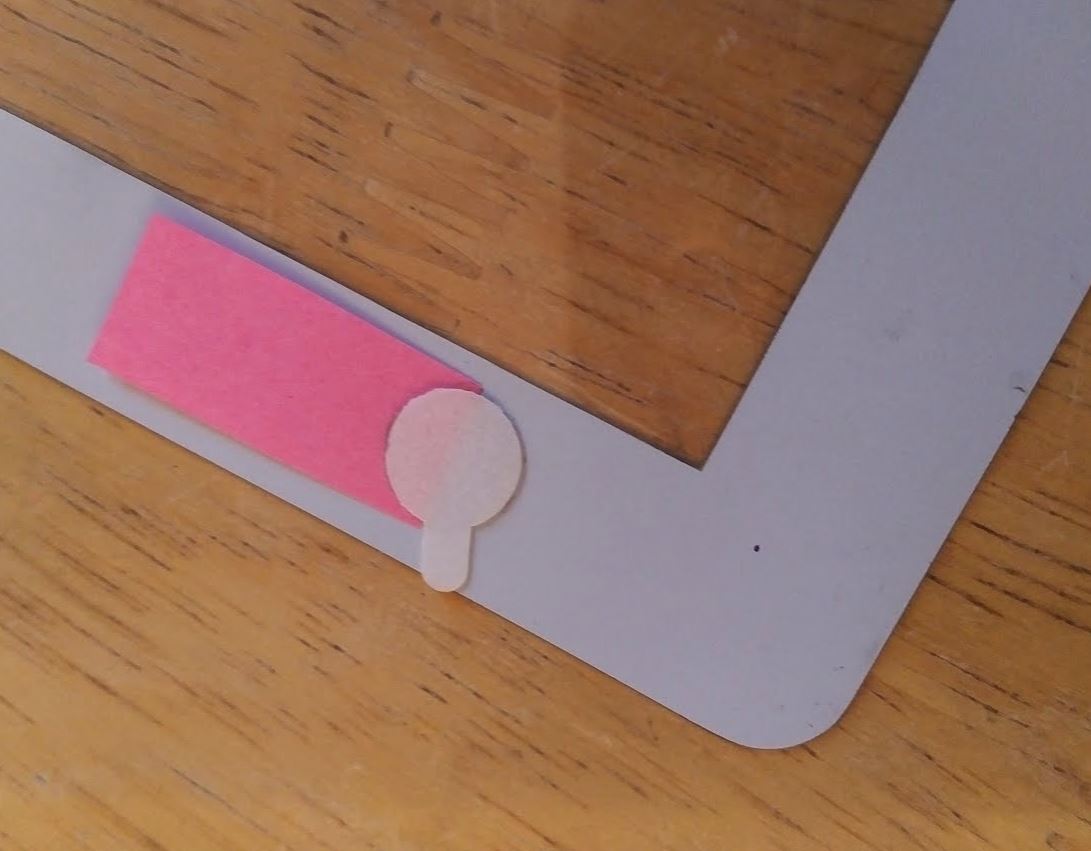
3) For the external frame, use little strips of paper that you will place half under the adhesive dots, like in the picture below.
Depending on the size of your SlimPYX DOUBLE frame, 4 to 8 adhesive dots are enough for the external frame. The pieces of paper reduce the glue dots’ efficiency and make it easier to remove your frame, leaving your walls damage-free!
4) Finally, remove the tabs from the adhesive dots and simply stick your SlimPYX to the wall!
Please note that if you plan to stick your frame on a very solid surface such as glass, concrete, marble or steel, you can skip using pieces of paper.
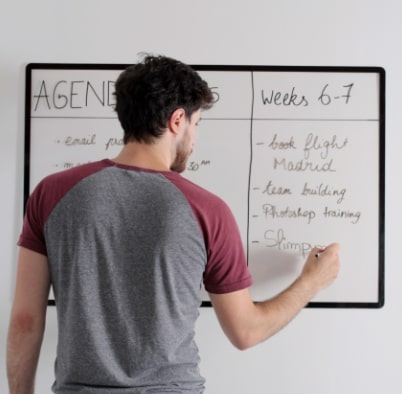
HOW TO USE YOUR SlimPYX BARE: paperboard, timetable, white board (no photos)
If you wish to use SlimPYX frames as paperboards or white boards, please make sure the surface is not fragile at all before sticking your frame to the wall.
If the glue dots are not half onto a picture because you want to use the frame bare, we strongly recommend you to use the same technique as with SlimPYX DOUBLE frames and place a strip of paper beneath half of the glue dot (see section above).
You do not have to follow this process if your wall is very solid and made of glass, marble, laminated surface, wood...
SlimPYX ON ROUGH SURFACES:
On rough, non-fragile surfaces, you can add more SlimPYX glue dots to stick your SlimPYX frame firmly to the wall. LINK TO SLIMPYX ADHESIVE DOTS.
SOME ADVICE:
SlimPYX cannot stand solvents and acids. Please avoid any contact with sharp objects or abrasive materials.
The glue-dots are to be used to stick your pictures on SlimPYX frames on any smooth and clean, dust-free and grease-free surface. This is essential for a safe and long-lasting grip.
We strongly discourage the use of glue-dots to stick documents on fragile surfaces such as tadelakt, waxed plaster, wall-paper, etc...) or to stick fragile documents.
We decline any responsibility in case of eventual damages.
ANY QUESTIONS LEFT?
Please visit the FAQ section (link here) or contact us directly.